Setting up a Nintendo Switch account isn’t complicated, but there are enough steps and settings involved that plenty of players skip through them without thinking, or worse, get stuck halfway through. Whether you’re booting up a new console for the first time, adding another player to your household setup, or recovering from a corrupted profile, knowing how to create a Nintendo Switch account properly saves you headaches down the road. This guide walks through every step, from the initial console setup to linking your profile online, configuring security features, and avoiding the most common pitfalls that catch players off guard. By the end, you’ll have a fully functional account ready to download games, access online multiplayer, and manage whatever your gaming setup demands.


Key Takeaways
- Creating a Nintendo Switch account unlocks essential features like the eShop, online multiplayer, and cloud saves that are unavailable with local profiles alone.
- Gather your email address, password, birthdate, and country/region before starting the account creation process to avoid delays.
- Enable two-factor authentication and configure privacy settings immediately after account setup to protect your digital purchases and personal information.
- Designate one console as your primary device if you own multiple Switches, as it allows all profiles on that system to share your digital games and online membership.
- Spend 10 minutes configuring parental controls and security features to prevent accidental purchases and avoid common account recovery headaches down the road.
Why Create A Nintendo Switch Account
A local user profile on your Switch is one thing, it gets you playing offline and accessing locally installed games. But a full Nintendo Account unlocks everything: the eShop for digital purchases, Nintendo Switch Online for multiplayer and cloud saves, and the ability to link multiple devices to the same account.
Without a Nintendo Account, you’re locked out of online features entirely. That means no playing Mario Kart with friends online, no downloading indie games, and no accessing the free games that come with Switch Online. If you own multiple Switches or plan to share games across devices (within Nintendo’s terms), you’ll need a proper account linked to your profile.
There’s also the data persistence angle. A Nintendo Account preserves your save data in the cloud, your achievements, and your digital library. If something happens to your console, your account recovery is straightforward. Without one, you’re limited to local backups and lose access to everything if the hardware fails. For anyone playing seriously, whether casually or competitively, an account is non-negotiable.
What You Need Before Getting Started
Hardware Requirements
You need a Nintendo Switch console, obviously, and it should be running the current software version. As of 2026, most consoles will auto-update when connected to WiFi, but if yours hasn’t been used in a while, let it sit on the network for a few minutes before starting the account creation process. You’ll also need internet connectivity, WiFi is fine, but a wired connection via USB Ethernet adapter is more stable if your console struggles with signal.
If you’re setting up an account for a child or managed player under parental controls, having the parent’s or admin account ready makes the process smoother. You can set up child accounts through an existing adult account.
Information You’ll Need Handy
Gather these before you start:
- A working email address. This is non-negotiable. It becomes your Nintendo Account identifier and the recovery point if you forget your password. Use an email you actually check, don’t use a throwaway. If the email gets compromised or you lose access to it, recovering your account becomes painful.
- A password. Nintendo requires at least 8 characters with a mix of uppercase, lowercase, and numbers. Avoid anything too obvious. You’ll need to remember this or have it stored securely.
- Your birthdate. Nintendo verifies age for account eligibility and parental control setup. Be honest here, misrepresenting your age can flag your account.
- Phone number (optional but recommended). Adding this during setup lets Nintendo help with account recovery if you forget your credentials. It’s not required, but it’s worth the 30 seconds.
- Your country/region. This determines which eShop you access and what pricing you see. You can’t easily change this later, so think about where you want to make purchases.
If you’re linking to an existing Nintendo Account (maybe from a Wii U or 3DS), have that account’s email and password ready too. Cross-console library benefits and achievement tracking depend on this connection.
Creating Your Account On The Console
Creating A Local User Profile
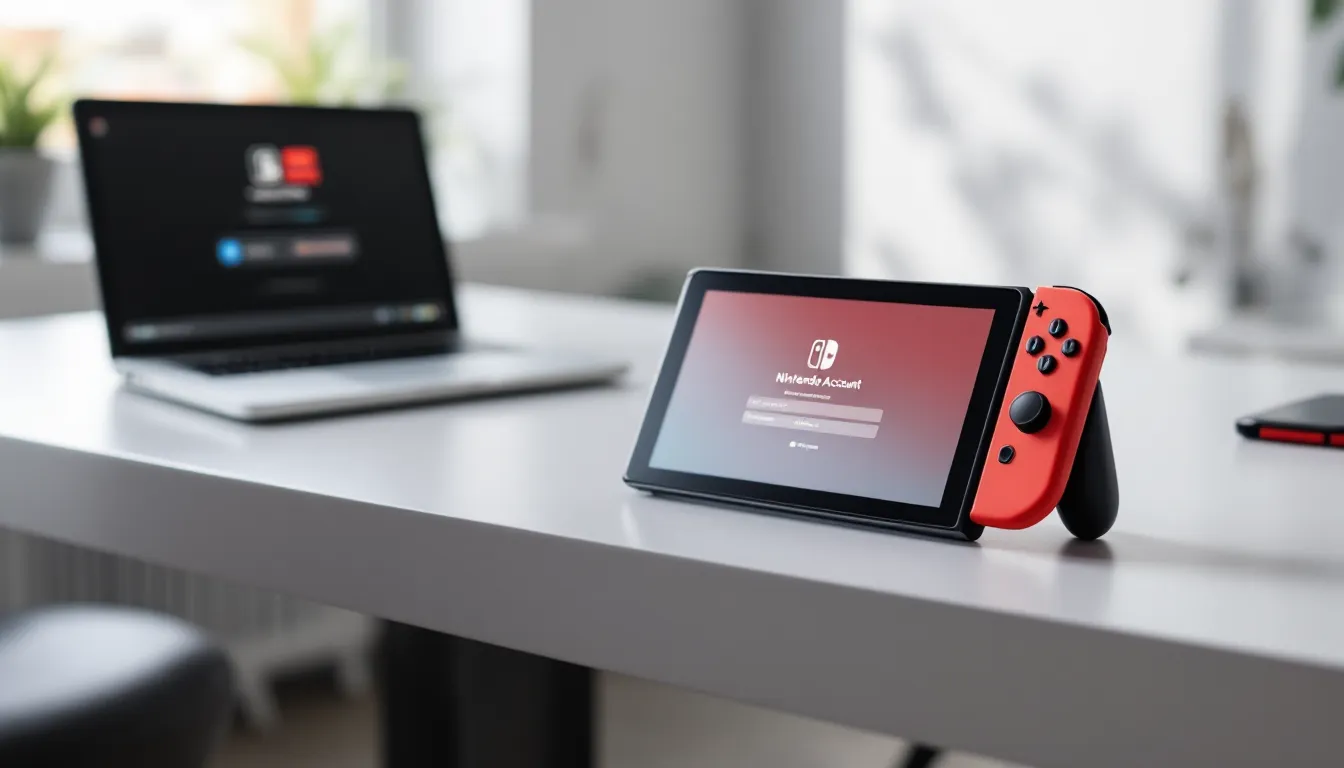
Start fresh by turning on your Switch and heading to System Settings (the gear icon). Scroll to “Users and Online Logins” near the bottom. Hit “Add User” and follow the prompts. You’ll pick a profile picture from a preset avatar or photo, enter a username (this is just your local display name on the console, not your account ID), and confirm your settings.
At this stage, you’re creating a local profile, it exists only on your physical console. You can play downloaded games, access local multiplayer, and mess around with the settings without being online. But this isn’t linked to the internet yet, so you don’t have access to online features, the eShop, or cloud saves. That’s why the next step matters.
Converting To A Nintendo Account
Once your local profile is set up, go back into System Settings, select your new profile, and choose “Link Nintendo Account.” This is where things get real. Nintendo will ask if you have an existing Nintendo Account (from another device or service) or if you want to create a new one.
If you’re starting fresh, pick “Create a New Nintendo Account.” You’ll be taken to a browser-based signup flow, don’t worry, you stay on the console. Enter your email address. Nintendo will send a verification link to that email. Check your inbox (and spam folder, because it happens), click the link, and you’re confirmed.
Back on the console, you’ll set your password, confirm your birthdate, and agree to the terms of service. Don’t skip reading the parental controls section if you’re under 18 or managing an account for someone who is. Nintendo’s surprisingly transparent about what they’re collecting and why.
After you complete this, your local profile is now tied to your Nintendo Account. Your console will show a notification confirming the link. You’re online now.
Setting Up Your Nintendo Account Online
Linking Your Console Profile
Once your console profile is linked to your Nintendo Account, your local data stays intact. But to fully unlock features, especially across multiple devices, you need to configure a few more things online.
Head to the official Nintendo Account website and log in with the email and password you just created. This is your hub for everything account-side: payment methods, security, linked devices, and settings.
Under “Connections,” add your Switch console if it hasn’t auto-detected it already. You can link the same Nintendo Account to up to 8 Switch consoles, but there’s a wrinkle: only one console can be designated as your “primary” device. The primary console lets any profile on that system access your digital games and Switch Online membership. Secondary consoles require you to be logged in to your account to access your library. This matters if you’re sharing with family or roommates, think through which device should be primary.
Configuring Account Settings
While you’re logged into the Nintendo Account website, take five minutes to fill in your profile completely. Add a profile picture, recovery email (different from your main email, if possible), and phone number. These aren’t critical, but they’re your lifelines if something goes wrong.
Check “Active Sessions” to see which devices are logged in with your account. If you see something you don’t recognize, kick it off immediately. Scroll through “Connected Services” and disconnect anything you didn’t intentionally link, old social media connections, third-party apps, or services you no longer use.
Under “Payment Methods,” add a credit card or link a PayPal account if you plan to buy games on the eShop. You don’t have to do this now, but it saves friction later when you find a game you want.
Essential Account Settings To Configure First
Privacy And Communication Preferences
Once your account is live, Nintendo lets you control who can contact you, what data you share, and how visible your profile is. These settings live both on the console and the website, and they’re worth customizing.
On your Switch, go to System Settings → Users and Online Logins → your profile → Profile Settings. Under “Communication and Appearance,” decide if you want your online status visible to friends, if strangers can contact you (spoiler: disable this unless you have a specific reason), and whether your profile picture and nickname show up in online games.
For most players, “Hide Online Status” and “Block All” under Friend Requests from strangers keeps things clean. Some competitive communities or gaming groups will ask for exceptions, but out of the box, privacy-first is the move.
Parental Controls For Family Accounts
If you’re an adult setting up an account for a child or teenager, parental controls aren’t optional, they’re part of responsible device management. But even if you’re setting up for yourself, understanding them is worth it.
Go to System Settings → Parental Controls and set up a PIN. This is separate from your account password, it controls what this console can do overall. You can restrict game ratings, disable online features, set playtime limits, and lock purchased content.
For managed accounts (child profiles), you log in through a parent account, which lets you remotely adjust restrictions from the Nintendo Account website. This is actually useful even for adult accounts sharing a console, because it prevents accidental purchases and unwanted online contact.
Make sure you remember the PIN you set. Forgetting it requires contacting Nintendo support.
Two-Factor Authentication Setup
Two-factor authentication is one of those things that feels like a pain until you need it, then you’re grateful it exists. Nintendo calls it “2-Step Verification.”
Head to your Nintendo Account on the website and go to Security Settings. Enable 2-Step Verification. You’ll get a prompt on your phone (via text or an authenticator app) every time you log in from a new device. If someone tries to access your account from somewhere unfamiliar, they’re locked out without that second code.
Yes, it adds an extra five seconds to login. No, it’s not optional if you’ve spent money on digital games. Enable it.
Troubleshooting Common Account Creation Issues
Email Already Associated With An Account
You’ll hit this if you try to create a Nintendo Account with an email that’s already registered, either because you forgot you had one or someone else signed up with it. Nintendo won’t let you proceed, error message, dead end.
First, try to recover the existing account. Go to the Nintendo Account login page and click “Forgot Password.” Verify the email, reset the password, and log in. Once you’re in, you can change the email address linked to that account if someone else owns it or you no longer use it.
If the email genuinely isn’t yours, contact Nintendo Support with proof of identity and the email address in question. They’ll investigate and help you either claim the account or disassociate your email from it.
Connection And Network Problems
If your Switch keeps disconnecting during account setup or says “Cannot Connect to Server,” start basic: restart your console and your router. Check that your WiFi password is entered correctly by testing internet connectivity in System Settings → Internet Settings → Test Connection.
If the test passes but account creation still fails, the issue might be on Nintendo’s side (check Nintendo’s status page for maintenance announcements) or your DNS might be acting up. Switch from automatic DNS to a public provider like 8.8.8.8 (Google) in your WiFi settings, save, and try again.
On rare occasions, a corrupted network profile on the console causes persistent issues. Go to System Settings → Internet Settings → Internet Settings (scroll down) and delete your WiFi network, then reconnect and re-enter your password. This clears out any cached misconfigurations.
Age Verification Errors
Nintendo’s strict about age verification for legal reasons. If your account gets flagged or you’re getting rejected during signup, it’s usually because the birthdate you entered didn’t match restrictions in your region or an existing profile on the console.
Double-check the birthdate you entered. If it shows you’re under 13 (depending on your region), Nintendo requires additional parental consent before proceeding. You’ll need a parent or guardian’s email address and they’ll have to verify the account creation.
If the error persists, contact Nintendo Support with your details. They can manually review and unlock the account if everything checks out. Don’t lie about your age to bypass this, it puts your account at risk of permanent suspension later.
Maximizing Your New Nintendo Account
Accessing The Nintendo eShop
With your account live, the eShop is now open. On your console, tap the eShop icon (shopping bag) on the home screen. You’ll see the digital storefront for your region. Browse, search by genre, check trending releases, and read reviews from other players.
Before you buy, make sure you’ve linked a payment method to your Nintendo Account (credit card, debit card, or PayPal). You can also buy eShop gift cards from retailers like Amazon or GameStop and redeem them without linking a card, this is safer if you’re a parent managing a child’s spending.
One pro tip: digital games go on sale pretty regularly. Sites like How-To Geek track eShop sales, but Nintendo also sends email notifications if you enable them in your account settings. Sign up for those and you’ll catch deals before they’re gone. If you’re wondering how to optimize everything on your Switch beyond purchasing, How to Optimize Your covers performance and gameplay tweaks that pair well with a new account.
Joining Nintendo Switch Online
Nintendo Switch Online is a separate subscription from your account itself, it’s required for online multiplayer, cloud saves, and access to a rotating library of NES and SNES games. You can buy it monthly or yearly (yearly saves you money, as always).
Go to the eShop, select “Nintendo Switch Online,” and purchase a membership. It’ll activate immediately on your account. You can also manage it from your Nintendo Account website under “Membership.”
The standard tier gives you online play and cloud saves. If you want more games and access to Game Boy and N64 titles, the Expansion Pack is pricier but worth it if you’re nostalgic or play competitively (some tournaments assume you have access to those classic libraries). Nintendo’s Switch Online + Expansion Pack Trailer sparked plenty of debate when it launched, but the value is there if you actually play those games.
Organizing Multiple User Profiles
If you’re sharing your Switch with family or roommates, you’re probably juggling multiple profiles. Each one can have its own Nintendo Account (or stay local), and each one maintains separate game libraries, saves, and settings.
Head back to System Settings → Users and Online Logins and add more profiles as needed. Link each one to its own Nintendo Account if those players want their own eShop access and online features. Local profiles are fine for players who only care about offline play.
Here’s the important part: decide which profile is the “primary account holder” for that console. The primary account’s Switch Online membership and digital library are shared with all other profiles on that system. Everyone else can still play their own games and access online features, but only as secondary users. If you’re managing money, linking the primary account to your payment method and keeping everyone else’s accounts linked to local payment restrictions (parental controls) prevents accidental $60 purchases.
You can swap primary status anytime, but it can only be changed once every 30 days. Plan accordingly.
Conclusion
Creating a Nintendo Switch account isn’t just a formality, it’s the gateway to everything the system has to offer beyond local play. From setting up your first profile to configuring security, managing multiple users, and jumping into the eShop, each step builds toward a complete, functional gaming setup.
The account creation process itself takes maybe 10 minutes, but spending another 10 on security settings, parental controls, and privacy preferences pays dividends. You’ll avoid common pitfalls, protect your digital purchases, and avoid the headache of account recovery later.
If you’re new to Switch and want to dive deeper into what the hardware can do, GameFAQs Switch: How To Use GameFAQs For Nintendo Switch is a solid resource for finding guides and walkthroughs for specific games. And if you’re looking to set up multiple consoles or explore advanced features, Portable Play: The Future of Handheld Casino Games on Nintendo Switch shows just how varied the Switch library has become.
You’re ready. Boot up your console, follow these steps, and get online.